Can a Fiberglass Bathtub Be Repaired?
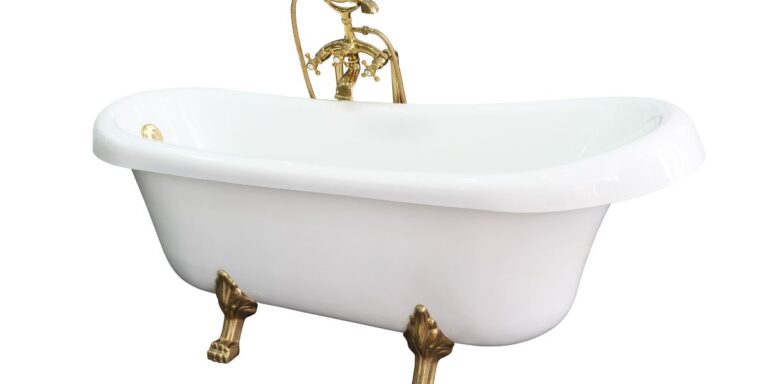
If you have a fiberglass bathtub that has seen better days, you may be wondering if it’s possible to repair damage and restore its appearance rather than go through the hassle and expense of full replacement. Fiberglass tubs are a popular choice for many homeowners due to their durability, ease of cleaning, and mold/mildew resistance.
But over time, wear and tear, accidents, and improper cleaning can take their toll. Chips, cracks, discoloration, and delamination are common issues. The good news is that many fiberglass tub problems can be fixed with the right techniques and products. This article will walk you through how to evaluate damage, make minor repairs yourself, determine when to call in a pro, and steps to prevent future deterioration. Let’s dive in!
Can a Fiberglass Bathtub Be Repaired?
Of course yes, fiberglass tubs can be repaired without breaking the bank. You don’t need to shell out for a full remodel; just grab a repair kit specifically designed for fiberglass, porcelain, or acrylic surfaces. Fix those cracks, chips, and holes yourself and save big bucks.
First of all, Assessing the Damage to Your Fiberglass Bathtub
Before attempting to repair your fiberglass tub, you’ll need to fully examine it to understand the type and extent of damage present. This will help determine what can be fixed yourself and when it’s safer to hire a professional. Here are some of the most common problems to look for:
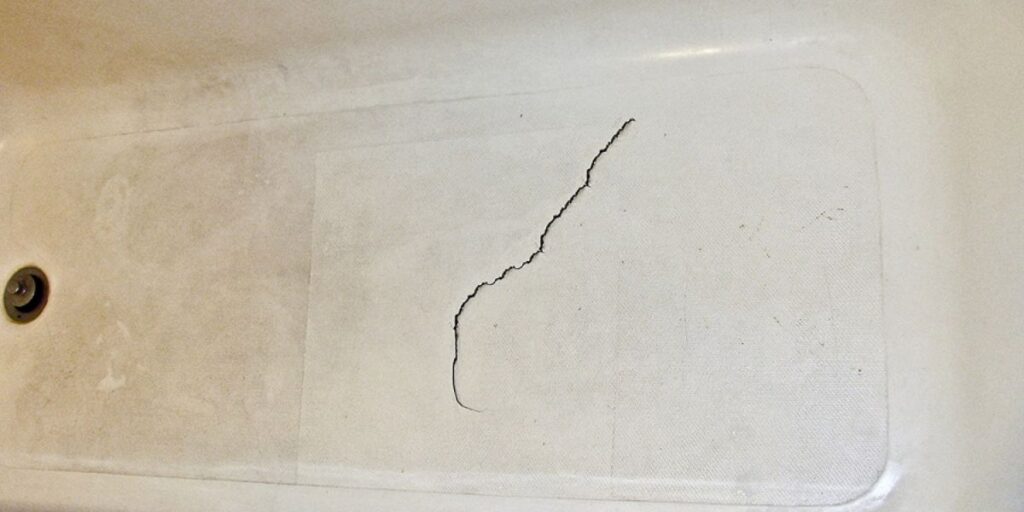
Cracks
Does your tub have any cracks along the bottom or up the sides? Check around the drain and where the walls meet the floor. Cracks can form from impact damage or ground settlement under the tub. Small cracks may be DIY-repairable, while large splits likely require pro help.
Chips
Over time, dropping items into the tub can cause small chips and divots in the surface. Inspect closely for any chips along the rim, sides, and base. Minor chips can often be smoothed over with epoxy filler.
Blisters
Moisture seeping under the surface can cause bubbles or blisters to form. This indicates a serious issue with water getting in and delamination occurring. Have a pro assess any blisters that appear.
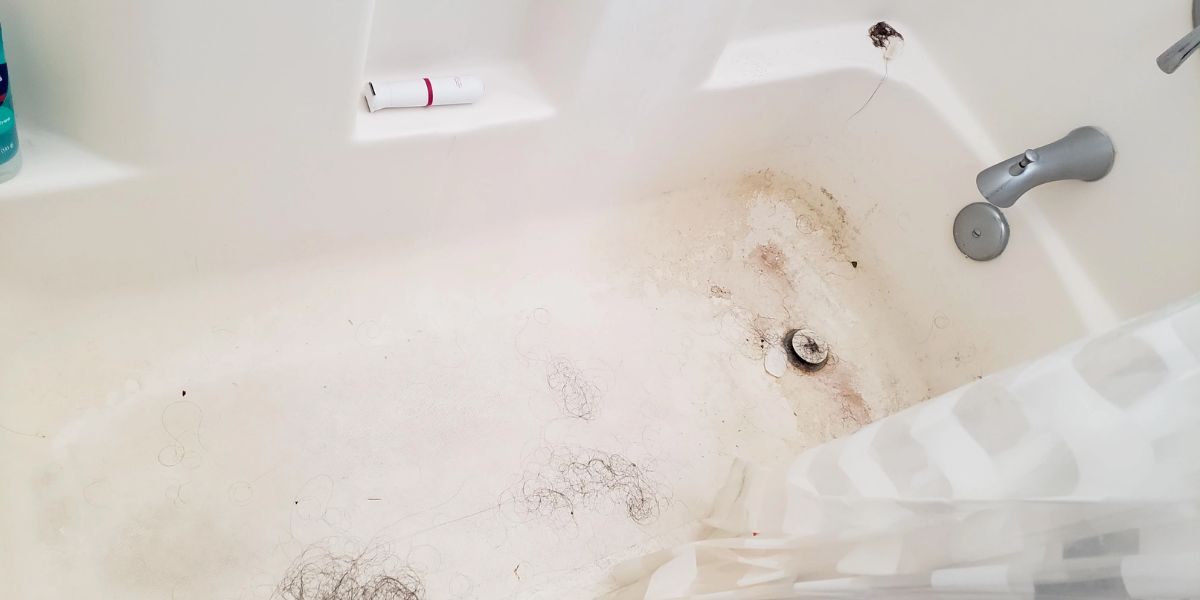
Discoloration
Does your white tub now look dingy or yellowed? A faded appearance or dark spots point to surface deterioration. Refinishing may help restore the color.
Soft Spots
Apply pressure with your hand along the walls and floor. Any soft, spongy areas mean water damage has caused delamination under the surface. This requires extensive repair.
Scuffs
Noticeable scrapes inside the tub from bathmats or cleaning tools can often be gently buffed and touched up.
Once you catalog all the existing damage, you can determine if it’s within your DIY abilities or time to hire a pro. Watch out for any cracks wider than a couple inches, soft spots, large blisters/bubbles, or damage affecting more than 10% of the surface. These likely exceed the average DIY skill level and require professional repairs for proper restoration.
How to Repair Minor Chips and Cracks On Fiberglass tub?
Many small chips, cracks, and light scratches can be repaired on your own with time and patience. Here’s an overview of the process:
Supplies Needed:
- Epoxy filler/patching compound
- Mixing sticks
- Sandpaper
- Acetone or tub surface cleaner
- Protective gloves & eyewear
Prep Steps:
- Clean the damaged area thoroughly with acetone/cleaner to remove dirt and residue
- Sand lightly around damage to rough up the surface for the epoxy to adhere
- Mix filler according to package directions
Repair Process:
- Apply thin layers of epoxy filler, smoothing from the center outward
- Let dry fully between coats, usually at least 2 hours
- Carefully sand once fully cured for a flush, even finish
- Use finer grit sandpaper to polish and blend the repair
- Clean the area well and allow it to fully dry
- Consider re-coating the surrounding area to blend repair
Pro Tips:
- Tape around the repair zone to prevent epoxy drips
- Work in a dust-free space
- Don’t gouge or scratch undamaged areas
- Multiple thin applications work better than one thick layer
Take it slowly and ensure each coat fully cures before adding more filler. With care and patience, you can achieve long-lasting patches on small fiberglass chips and cracks yourself. But don’t push it beyond your skill level – larger damage requires a pro’s touch.
How to Fix Major Chips, Gouges, and Holes on Fiberglass bathtub?
While minor fiberglass tub repairs are doable yourself, severe damage like large holes, deep gashes, or cracks wider than a couple of inches call for a professional repair job. DIY patches simply won’t hold up or restore the tub to its original structural integrity. Here’s an overview of pros used for significant fiberglass tub repairs:
Assessing Damage: The pro will determine how severe the issue is and how far they need to grind out surrounding damage before rebuilding the area with fiberglass laminate.
Building a Form: A watertight form is created around and underneath the repair zone to apply new fiberglass material.
Grinding: The damaged section is ground out until only solid, intact areas remain.
Applying Fiberglass: Layers of fiberglass cloth and resin are built up to fill the ground-out section, leaving excess material.
Sanding & Finishing: Once cured, the area is smoothed and sanded flush with the existing tub surface.
Refinishing: Scratches or ripples around the patched zone can be blended using tub refinishing products.
This professional process not only restores the damaged section but also creates a reinforced area less prone to future cracking or delamination. While the products and skills required exceed most DIY capabilities, the cost of an expert fiberglass tub repair is typically far less than a full tub replacement.
Refinishing Worn, Dull, or Discolored Areas
Over years of use, your once pristine white bathtub may start to show its age with yellowing, cloudiness, or dark grimy buildup. Refinishing can help restore the tub’s color and shine. Here are signs it’s time for a refresh:
- Faded, yellowish, or gray stained appearance
- Noticeable ring around the tub
- Dingy, difficult to remove dirt buildup
- The surface feels rough/etched rather than smooth
DIY refinishing is possible with kits containing sandpaper, tub cleaner, etching solution, primer, and paint. However professional refinishers have more advanced equipment and paint products that create a smoother, more durable finish. DIY takes a ton of elbow grease. Pros can refinish a tub in a day versus a weekend of work yourself.
See this guide on Painting a fiberglass bathtub.
Cost is the tradeoff – DIY under $200 vs. $400+ for a pro. However advanced acrylic paints and professional tools yield longer-lasting results. Evaluate your time and budget to decide if DIY or hiring out is the better choice. Either way, refinishing restores a like-new sheen.
How to Repair Blisters and Delamination?
If you spot any bubbles, blisters, or soft spots appearing on the tub surface, moisture has likely crept in underneath and is causing the fiberglass layer to separate or delaminate. This demands repair before further damage occurs. Here’s an overview of the delamination repair process:
- Dry the tub well and inject air under bubbled areas to check if they lift further, indicating delamination
- Sand down raised sections gently until solid
- Grind damaged areas into a shallow V-shape
- Clean and etch the tub with acetone or an etching solution
- Apply fiberglass filler in thin layers, slightly higher than the tub surface to allow for sanding
- Once fully cured, sand down flush with 120-150 grit sandpaper
- Prime then paint with 2-3 coats of acrylic enamel paint
- Let cure fully – around 5-7 days
- After a few weeks, inspect for any new bubbles indicating inadequately repaired areas.
This is a tedious process requiring patience and care. Hire a pro for best results on extensive delamination. Prevent this issue in the future by sealing the tub yearly and immediately drying any standing water or leaks.
When to Call in a Professional for Fiberglass Tub Repairs?
While minor damage often falls into the DIY realm, certain issues absolutely require calling in a professional:
- Cracks wider than a couple of inches
- Large holes or gashes exposing more than 6 inches of backing
- Damage along the rim or edges of the tub
- Any repairs needed around the drain
- More than 10% of the surface affected
- The presence of extensive blistering or bubbling
- Leaks, overflow issues, or plumbing problems
- Previous DIY repairs that have failed
- Discoloration or damage you’ve struggled to remove
Complex repairs demand the skills, tools, and materials only pros can provide. DIY patches simply won’t withstand the stresses and moisture exposure bathrooms create. The cost of professional reglazing or fiberglass repair ranges $200-$1000 based on damage extent. Compare that to thousands for a new tub! Calling a seasoned refinisher pays off.
You can handle minor scratches, scuffs, chips, and stains yourself. But significant damage deserves an expert’s touch. Don’t let your damaged tub become a frustrating DIY project you ultimately need to pay more to redo. Know your limits and hire a pro when needed.
How to Prevent Future Damage?
Prevention is key to avoiding major tub repairs down the road. With proper care, your fiberglass tub can look great for decades. Follow these maintenance tips:
- Use a gentle scrubbing pad instead of abrasive scouring pads
- Rinse soap residue thoroughly after bathing
- Dry with a squeegee to prevent mineral buildup
- Apply a high-quality wax 2-3 times per year
- Immediately clean any spills like hair dye
- Test cleaning products on an inconspicuous spot first
- Avoid dropping heavy objects into the tub
- Install cushions or bumpers on tub edges if you have kids
- Seal any scratches right away with epoxy
- Check caulk and grout for gaps allowing moisture in
- Fix minor chips before they grow into cracks
- Keep bathroom well-ventilated to prevent humidity damage
Catching damage early and keeping your tub well-maintained prevents the need for major repairs later on. But even with great care, normal wear will occur over decades of use. Know when to attempt minor fixes yourself versus calling in the pros. With the right approach, you can keep your fiberglass tub looking fresh. And minor issues are much more affordable to repair than full tub replacement.
Conclusion:
Hopefully this overview gives you a good grasp on how to evaluate and repair fiberglass tub damage. Small chips, cracks, and dullness can be addressed with DIY patching and refinishing in many cases.
But extensive damage deserves professional repair services for reliable results. Stop damage in its tracks with preventative care. Invest in expert help when needed to restore your tub and avoid replacement costs. With the right approach, you can enjoy your fiberglass tub for years of soaking.

William J. Bullock is a licensed plumber with over 15 years of experience installing and repairing bathtubs. He runs his own plumbing company in Greenville and serves residential and commercial clients. William is dedicated to providing honest, transparent advice to help homeowners make informed decisions about their bathroom renovations.
He has established expertise in selecting bathtubs, planning custom installations, diagnosing issues, and completing repairs. William aims to share practical tips and reliable recommendations based on extensive hands-on work. When he isn’t on a job site, William enjoys spending time with his family and volunteering at local community events. He takes pride in delivering quality service and enjoys helping people upgrade their homes.