How To Fix Leaking Pipe Under Bathtub?
Alright, folks! Today, I’m going to drop some serious knowledge bombs on how to fix that pesky leaking pipe under your bathtub. Trust me, I’ve been there, and I know just how frustrating it can be. But fear not, my friends, because with a little determination, some elbow grease, and a touch of DIY magic, you’ll have that leak fixed faster than you can say “plumber”! So buckle up, grab your toolbox, and let’s dive right into this adventure together.
During a power outage, filling the bathtub with water provides a reserve supply for basic needs like flushing toilets or washing hands. The water can also be used for drinking if boiled first to purify it.
How-To: Identifying a Leaky Bathtub Pipe
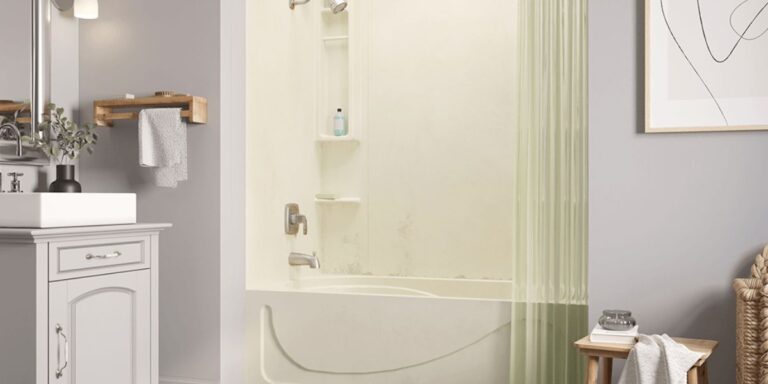
Your bathtub can be a sanctuary; a place to unwind and relax after a long day. However, a leaking pipe underneath can quickly turn this peaceful haven into a frustrating mess. In this chapter, I’ll guide you through the process of identifying a leaky bathtub pipe, so you can take action and reclaim your tranquil space. Let’s get started!
Tips for Locating the Leak
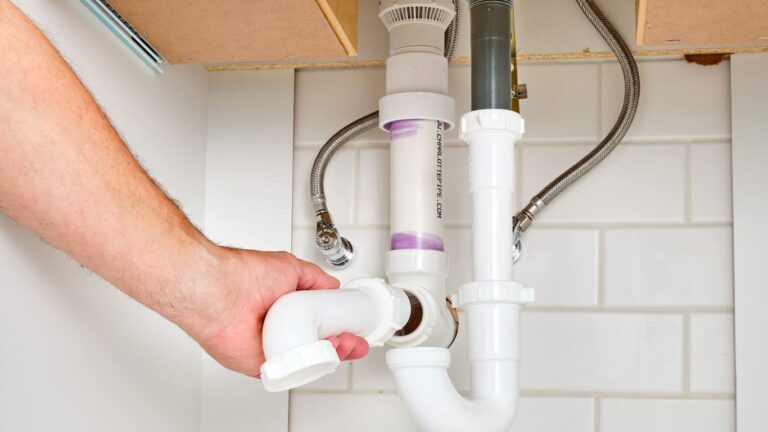
When it comes to locating a leaky bathtub pipe, it’s essential to be thorough and observant. Here are some tips to help you find that pesky leak:
- Inspect the area: Begin by visually examining the area around your bathtub for any signs of water damage or moisture. Look for wet spots on the floor or walls, peeling paint, or mold growth. These are all telltale signs of a leak.
- Listen carefully: Leaking pipes often produce a distinct dripping sound. Try to identify the source of the sound by using your ears as your detective tool. The location of the sound can give you a clue as to where the leak might be.
- Feel for moisture: Run your hand along the pipes underneath your bathtub, feeling for any moisture or dampness. Be cautious and avoid sharp objects; safety is key!
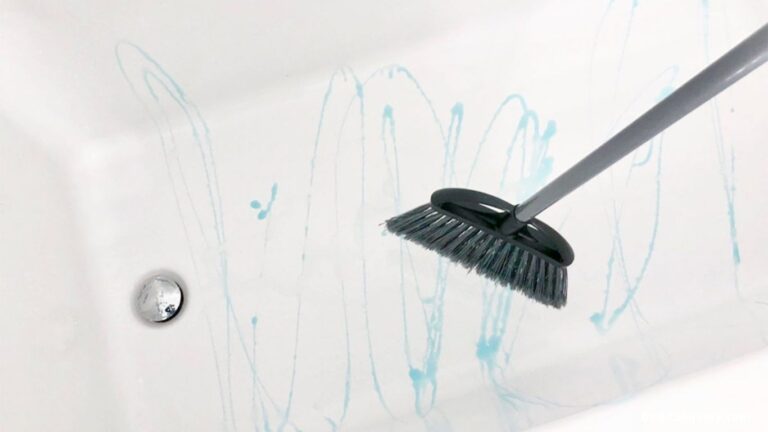
Assessing the Damage: What to Look for
Once you’ve located the leaking pipe under your bathtub, it’s important to assess the damage to determine the severity. Here are a few things you should look for:
- Cracks or holes: Inspect the pipe closely, keeping an eye out for any visible cracks or holes. These imperfections can be the primary source of the leaking problem.
- Corrosion: Check for signs of corrosion on the pipe’s surface. Rust or greenish discoloration can indicate water damage and may require pipe replacement.
- Water pressure: Evaluate the water pressure in your bathtub. If it’s weak or inconsistent, it could be a result of the leak affecting the overall water flow.
Identifying a leaky bathtub pipe doesn’t have to be a daunting task. By following these simple tips and assessing the damage systematically, you’ll be well on your way to fixing that troublesome leak. Stay tuned for the next chapter, where I’ll walk you through the step-by-step process of repairing a leaking pipe under your bathtub. Before you know it, you’ll be back to enjoying your peaceful sanctuary!
Preparing for the Repair
Now that we’re ready to tackle the leaking pipe under your bathtub, it’s important to take a few crucial steps to prepare for the repair. This chapter will guide you through gathering the necessary tools and taking the required safety precautions.
Gathering Your Tools
Let’s start by ensuring we have all the essential tools to fix that pesky leaking pipe. You’ll need a few items that you probably already have lying around the house. Here’s a short list of what you’ll need:
– Adjustable wrench: This versatile tool will come in handy when loosening or tightening pipes and fittings.
– Pipe cutter: A pipe cutter will allow you to cleanly cut through the damaged section of the pipe, making it easier to remove and replace.
– Pipe wrench: It’s crucial to have a pipe wrench at your disposal to grip and turn pipes without causing damage.
– Plumbers tape: This magical invention will become your best friend when sealing pipe threads, preventing any future leaks.
– Plumber’s putty: This sealant is used to create a water-tight seal around drains and fixtures.
– Safety goggles and gloves: Protect your hands and eyes from any potential hazards during the repair process.
– Bucket or container: Have something handy to catch any water that may leak during the repair.
Now that we have all the necessary tools, we’re one step closer to fixing that leak. Let’s move on to the next important aspect of this repair job, ensuring safety.
How-To: Fixing the Leaking Pipe
While dealing with a leaking pipe under your bathtub may seem like a daunting task, it’s not as complicated as it appears. With a little bit of know-how and some patience, you can fix that pesky leak and restore your bathroom to its former glory. In this chapter, I’ll guide you through the step-by-step process and provide you with insider tips to ensure a successful repair. Let’s tackle this challenge head-on!
Step-by-Step Guide to Repairing the Leak
Repairing a leaking pipe requires a systematic approach to ensure the problem is resolved correctly. Follow these steps to get the job done:
- Step 1: Prepare your workspace by clearing the area under the bathtub. Remove any objects that might obstruct your access to the leaking pipe.
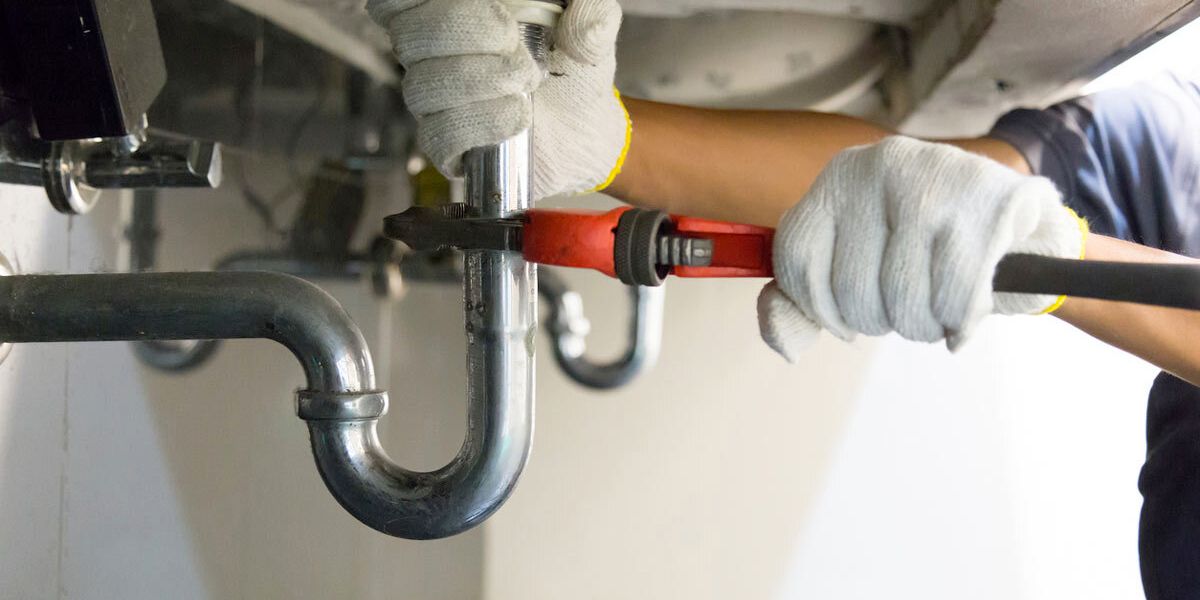
- Step 2: Before beginning the repair, it’s important to turn off the water supply to the bathtub. Look for the shut-off valve near your bathroom or, if not available, shut off the main water supply to the house.
- Step 3: Use a wrench to loosen the nuts connecting the leaking pipe. Depending on the type of pipe, you may need to use a pipe cutter or a hacksaw to remove the damaged section.
- Step 4: Once the damaged section is removed, clean the ends of the remaining pipes thoroughly. This helps to ensure a proper seal when connecting new pipes.
- Step 5: Measure and cut a new section of pipe to fit between the two ends. Ensure the measurements are accurate, and use a deburring tool to smooth the cut edges.
- Step 6: Apply plumber’s tape to the threaded ends of the pipes that will be connected. This creates a tight seal and prevents future leaks.
- Step 7: Connect the new pipe section between the existing ends, ensuring a secure fit. Tighten the nuts with a wrench, but be careful not to overtighten and damage the threads.
- Step 8: Once the connection is secure, turn on the water supply and check for any leaks. If everything looks good, clean up the area and pat yourself on the back for a job well done!
Preventing Future Leaks
Now that we’ve tackled the issue of fixing a leaking pipe under your bathtub, let’s shift our focus towards preventing future leaks. Whether you’ve just dealt with a frustrating plumbing problem or you simply want to be proactive, taking the necessary precautions can save you both time and money in the long run. Here are a few key factors to consider and some essential maintenance tips to keep your bathtub pipes leak-free.
Factors Contributing to Bathtub Pipe Leaks
There are several factors that can contribute to bathtub pipe leaks, and it’s important to be aware of them in order to avoid similar issues in the future. Some of the main culprits for these leaks include poor initial installation, corrosion or rust over time, and excessive water pressure. Let me break it down for you:
- Poor Initial Installation: If your bathtub pipes were not installed properly from the get-go, it could lead to leaks down the line. This could be due to shoddy workmanship, inadequate sealing, or the use of low-quality materials.
- Corrosion or Rust: Over time, the metal pipes in your bathtub can corrode or develop rust, weakening their integrity and increasing the chances of leaks.
- Excessive Water Pressure: High water pressure may seem invigorating during a shower, but it can actually put unnecessary strain on your pipes. The constant stress can eventually cause them to develop leaks.
Conclusion
So, by taking action and following these simple steps, you can easily fix a leaking pipe under your bathtub. With a little bit of patience and some basic tools, you can save yourself the hassle and expense of calling a plumber.
Remember, the key is to identify the source of the leak, turn off the water supply, and then replace or repair the damaged section of the pipe. Taking care of these issues promptly not only prevents further damage but also saves you time and money in the long run. Now, go out there and get that leak fixed like the handy person you are!

William J. Bullock is a licensed plumber with over 15 years of experience installing and repairing bathtubs. He runs his own plumbing company in Greenville and serves residential and commercial clients. William is dedicated to providing honest, transparent advice to help homeowners make informed decisions about their bathroom renovations.
He has established expertise in selecting bathtubs, planning custom installations, diagnosing issues, and completing repairs. William aims to share practical tips and reliable recommendations based on extensive hands-on work. When he isn’t on a job site, William enjoys spending time with his family and volunteering at local community events. He takes pride in delivering quality service and enjoys helping people upgrade their homes.