A Complete Bathtub Stopper Replacement Guide
Alright my friends, today we’re diving deep into the world of bathtub stopper replacement. Now, let me tell you, it’s a task that may seem daunting at first, but fear not! I’ve got your back. Replacing your bathtub stopper can be a tricky business if you’re not careful, and if done wrong, it can lead to leaks and potential water damage.
But hey, don’t fret, because with this complete guide, you’ll be a bathtub stopper replacement pro in no time. So let’s roll up our sleeves, grab our tools, and get ready to solve this problem once and for all.
Yo, what’s up, it’s your boy here! Today, I’m gonna drop some knowledge bombs on how to replace your bathtub stopper like a boss. Let’s face it, nobody likes dealing with a clogged drain or a leaky stopper, but fear not my friend, with this complete bathtub stopper replacement guide, I got your back.
It’s time to take matters into your own hands and fix that annoying problem yourself. Trust me, it’s easier than you think! So grab your tools and get ready to become a DIY hero, because we’re about to dive into this epic bathtub stopper replacement journey. Let’s do this!

Identify Your Bathtub Stopper Type
Assuming you are looking to replace your bathtub stopper, it is crucial to understand the different types available in the market. This knowledge will help you choose the right stopper for your specific needs and ensure a hassle-free replacement process. In this chapter, I will break down the four main types of bathtub drain stoppers: Push-and-Pull, Flip-It, Pop-Up, and Lift-and-Turn.
| Type | Description |
|---|---|
| Push-and-Pull Stopper | An easy-to-use stopper that requires you to push or pull it to open or close the drain. This type of stopper is commonly found in older bathtubs. |
| Flip-It Stopper | A stopper that can be flipped up or down to open or close the drain. It is designed to fit most standard bathtubs and provides a good seal. |
| Pop-Up Stopper | A stopper that is controlled by a lever located on the overflow drain. When the lever is lifted, the stopper pops up, allowing water to drain. When the lever is pushed down, the stopper closes the drain. |
| Lift-and-Turn Stopper | A stopper that requires you to lift and then turn it to open or close the drain. This type of stopper is commonly found in modern bathtubs and provides a tight seal. |
Push-and-Pull Stopper
If you have an old bathtub with a push-and-pull stopper, replacing it is relatively straightforward. First, remove the old stopper by unscrewing it counterclockwise. Once removed, clean the drain area thoroughly to ensure proper installation of the new stopper.
Flip-It Stopper
If you own a standard bathtub with a Flip-It stopper, you’re in luck! Replacing this stopper is a quick and easy process. Simply lift the old stopper out of the drain, clean the area, and insert the new Flip-It stopper by pushing it into the drain until it fits snugly.
Pop-Up Stopper
For those of you who have a Pop-Up stopper, replacing it might require a bit more effort. To begin, remove the overflow plate by unscrewing it from the bathtub wall. Next, take out the old linkage assembly connected to the stopper. Clean the area and replace the old linkage assembly with the new one provided with your replacement stopper. Finally, reattach the overflow plate and ensure the stopper is functioning properly.
Lift-and-Turn Stopper
If your bathtub is equipped with a Lift-and-Turn stopper, replacing it can be done in a few simple steps. First, carefully unscrew the old stopper counterclockwise until it is completely removed. Clean the drain area and insert the new stopper by turning it clockwise until it is tightly secured.
Assume that regardless of the type of stopper you have, it is essential to read the manufacturer’s instructions that come with your replacement stopper. These instructions will provide specific guidance on how to replace the stopper correctly and ensure a water-tight seal.
Tips to Properly Identify Your Bathtub Stopper Type
After introducing you to the different types of bathtub stoppers, I want to provide you with some useful tips to help you properly identify the type of stopper you have in your bathtub. By following these tips, you’ll be able to confidently select the appropriate replacement:
- 1. Examine the Stopper Mechanism: Carefully inspect the stopper mechanism to identify any buttons, levers, or knobs associated with opening and closing the drain.
- 2. Check the Overflow Plate: The overflow plate is the circular cover on the side of the bathtub. Look for any mechanisms or components such as a lever or flip lever attached to it.
- 3. Take Measurements: Measure the diameter of the drain opening to ensure your replacement stopper is compatible in size.
- 4. Look for Manufacturer Labels: Some bathtub stoppers may have manufacturer labels or logos imprinted on them, providing you with valuable information for identifying the type.
- 5. Seek Professional Advice: If you’re still unsure about your bathtub stopper type, consult a professional plumber who can assist you in identifying it accurately.
After applying these tips and successfully identifying the type of stopper you have, you’ll be well-equipped to move on to the next chapter of our bathtub stopper replacement guide.
Step-by-Step Guide to Bathtub Stopper Replacement
Despite being a seemingly daunting task, replacing a bathtub stopper can be a relatively simple and satisfying DIY project. By following this step-by-step guide, I’ll show you how to replace your bathtub stopper with ease, saving you time and money. So, let’s dive right in!
Preparing Your Tools and Work Area
Before we begin the actual replacement process, it’s crucial to gather all the necessary tools and prepare your work area. Here’s what you’ll need:
| Tools | Work Area |
|---|---|
| Adjustable wrench Needle-nose pliers Plumbers’ putty or silicone sealant Rag or towel | Clean and clutter-free Good lighting Access to water shut-off valve |
By having these tools ready and preparing your work area accordingly, you’ll ensure a smooth and efficient bathtub stopper replacement process.
Detailed Steps on How to Replace Different Types of Stoppers
Now, let’s dive into the specific steps for replacing different types of bathtub stoppers. Follow these instructions carefully, and you’ll have your new stopper installed in no time!
- Rubber Stoppers: Start by locating the setscrew and removing it using a screwdriver. Next, unscrew the stopper in a counterclockwise direction and remove it completely. Finally, install the new rubber stopper by reversing these steps.
Thou, be cautious not to damage the drain flange while removing or installing the stopper. - Pop-up Stoppers: Begin by removing the overflow plate screws using a screwdriver and pulling out the linkage assembly. After that, unscrew the old stopper from the strainer and disconnect it from the linkage. Install the new pop-up stopper and reassemble the linkage and overflow plate.
I must emphasize that being attentive when disassembling and reassembling the linkage is of utmost importance. - Toe-Tap Stoppers: First, locate the stopper assembly under the bathtub and unscrew the retaining nut using pliers. Remove the old stopper and install the new toe-tap stopper in its place. Finally, tighten the retaining nut to secure the stopper.
It’s crucial to ensure that the retaining nut is tight enough to prevent any leakage.
These steps serve as a general guide, but remember to consult any specific instructions provided with your replacement stopper. Additionally, always prioritize safety by turning off the water supply and taking necessary precautions to avoid injury during the replacement process.
| Important | Dangerous |
|---|---|
| Inspect the stopper: Identifying the type of stopper is crucial for the right replacement steps. | Turn off the water supply: Prevent accidental flooding or water leakage by shutting off the water supply. |
| Take necessary precautions: Ensure your safety by following proper procedures and using the right tools. | Be cautious of the drain flange: Avoid damaging the drain flange while removing or installing the stopper. |
| Follow specific instructions: Always refer to any provided instructions that accompany your replacement stopper. | Attentively handle the linkage: Avoid any mistakes or issues while disassembling and reassembling the linkage. |
| Tighten the retaining nut: Ensure the retaining nut is tightened properly to prevent leakage. | Take necessary safety precautions: Prioritize your safety and take necessary precautions to avoid injury. |
It’s time to roll up your sleeves and put this knowledge into action. Remember, a bathtub stopper replacement is not rocket science, but it does require some patience and attention to detail. I believe in you! Soon enough, you’ll be enjoying a fully functional bathtub with your brand new stopper.
Factors to Consider When Replacing Your Bathtub Stopper
Now, when it comes to replacing your bathtub stopper, there are a few important factors you need to take into consideration. The decision you make can greatly impact the functionality and overall satisfaction with your bathing experience. So, let’s break it down and make an informed choice that suits your needs and preferences.
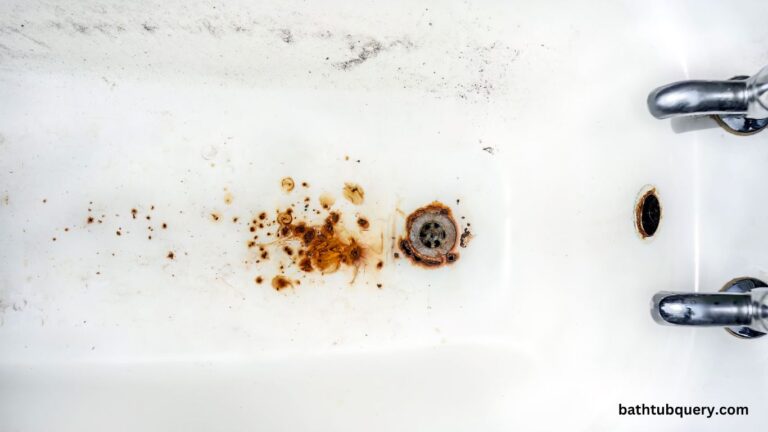
Assessing the Condition of Your Bathtub Drain
First things first, before replacing your bathtub stopper, it’s crucial to assess the condition of your bathtub drain. Take a few moments to ask yourself a couple of questions: Is there any damage to the drain itself? Are there any leaks or signs of corrosion?
These could be potential red flags that might require professional attention. Inspecting your drain will give you a clearer understanding of any underlying issues that may affect the replacement process. Remember, it’s always better to uncover any problems beforehand rather than dealing with them later on.
The Cost and Complexity of Bathtub Stopper Replacement
Now, let’s talk about another significant aspect: the cost and complexity of bathtub stopper replacement. Budget is always a key consideration, so you’ll want to determine the amount you are willing to invest. The cost of a new stopper can vary depending on factors such as material, design, and brand.
Additionally, consider the level of complexity involved in the replacement process. If you have minimal experience with plumbing tasks, you may want to opt for a stopper that is easier to install.
On the other hand, if you’re feeling confident in your DIY skills, a more intricate model may be within your grasp. Remember, finding the right balance between cost and complexity is crucial to ensure a successful replacement without breaking the bank or experiencing unnecessary frustration.
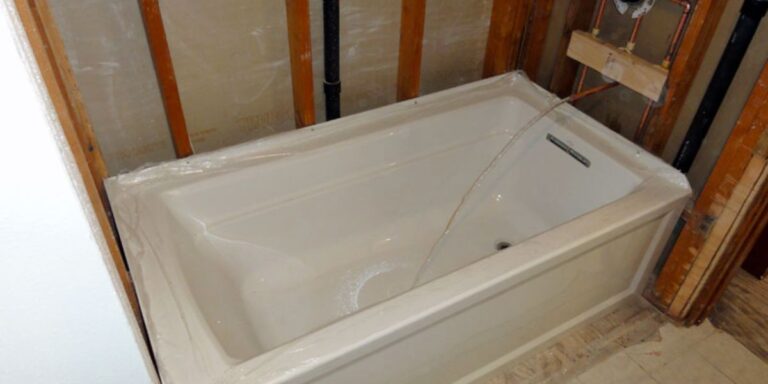
Considering the Compatibility with Your Bathtub
Perceiving how well the new stopper will work with your existing bathtub is also vital. Compatibility entails not only the physical fit but also the aesthetic appeal. Make sure to choose a stopper that complements the overall design and theme of your bathroom.
Nobody wants a glaring eyesore in an otherwise beautifully curated space! Additionally, think about whether you prefer a stopper that offers different functionalities. Some stoppers come with adjustable heights, integrated overflow protection, or even built-in hair catchers. Assessing all these factors will help you find a stopper that seamlessly integrates with your bathtub while enhancing your bathing experience.

William J. Bullock is a licensed plumber with over 15 years of experience installing and repairing bathtubs. He runs his own plumbing company in Greenville and serves residential and commercial clients. William is dedicated to providing honest, transparent advice to help homeowners make informed decisions about their bathroom renovations.
He has established expertise in selecting bathtubs, planning custom installations, diagnosing issues, and completing repairs. William aims to share practical tips and reliable recommendations based on extensive hands-on work. When he isn’t on a job site, William enjoys spending time with his family and volunteering at local community events. He takes pride in delivering quality service and enjoys helping people upgrade their homes.