How To Refinish A Cast Iron Tub Yourself? DIY
Hey there! If you’re like me, you may have an old cast iron tub that has seen better days. I know the feeling. My tub was all dingy and scratched up, basically an eyesore in my bathroom. I figured it was time to either replace it or try restoring it myself.
Replacing seemed wasteful since the tub itself was still sturdy and functional. So I decided to give refinishing a DIY try and I’m so glad I did! The tub looks brand new and glossy white now, and I saved a ton of money doing it myself versus paying for a new install or hiring out the refinish job.
The whole process I followed to refresh my cast iron bathtub is described below. It took some work, but it really wasn’t as hard as I thought it would be. With the right supplies and a little elbow grease, you can definitely handle this project yourself. Let’s get into it!
Gathering Your Refinishing Materials
The first thing you need to do obviously is get all the necessary supplies together. Here’s what you’ll need:

- Enamel paint designed specifically for bathtub refinishing. Don’t use regular old house paint for this! The enamel is formulated to bond properly and withstand moisture.
- Primer – also needs to be one made for bath fixtures. The primer coat helps the paint adhere.
- Rollers and paint brushes – I’d get a few smaller brushes for the hard to reach spots and a roller for doing the wider flat areas.
- Sandpaper – you’ll need a coarse grit to start removing the old finish and a fine grit for smoothing between coats.
- Painters tape and plastic sheets – for masking off the nearby walls and surfaces to keep them protected.
- Chemical paint stripper – I used a soy-based one to avoid nasty fumes.
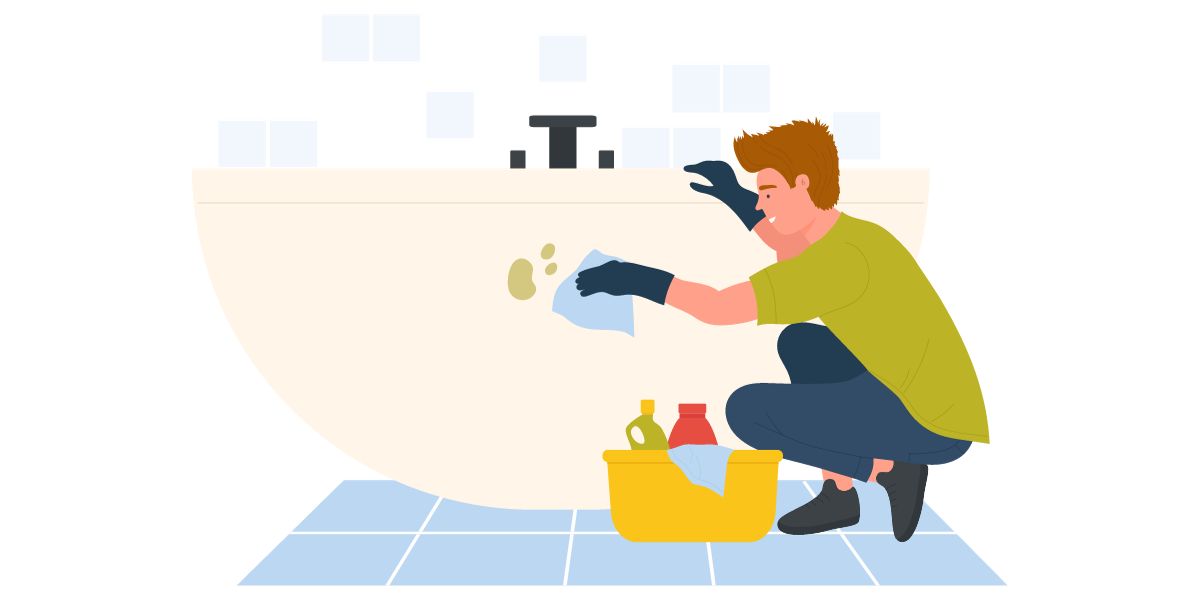
- Rags and steel wool for cleaning.
- Safety gear – gloves, a respirator mask, and goggles are a must!
Once you’ve got all the necessary supplies, you’re ready to move on to prepping the tub.
Prepping and Cleaning the Tub
Here are the key steps I took to get the tub ready for its makeover:
Drain and Dry
First, make sure to fully drain and dry out the tub. Any moisture left in there will interfere with getting the paint to bond properly.
Remove Caulk and Parts
I took off the old mildewy caulk around the rim using a utility knife. This allows you to paint right up to the edge. I also removed the drain cover and any other removable parts like grab bars.
Scuff Sand
Next, I used a coarse 80 grit sandpaper to scuff up and rough down the original tub finish. This helps the primer and new paint adhere better. I really went to town with the sanding to make sure the surface was ready.
Chemical Strip
Here’s where the paint stripper came in handy. I applied a thick coat of the stripper and let it sit for 15-20 minutes. Then I used steel wool to scrub away the gunky old finish that it loosened up.
Repeat Sanding and Cleaning
Once I got all the old finish stripped off, I did another thorough sanding with fine 150 grit paper. I finished up by wiping down the tub several times with clean rags to remove any leftover grime.
At this point, that dingy old tub was stripped down to the bare cast iron and ready for some TLC!
Priming and Painting
Now we’re to the fun part – making it look fresh and new again!

Lay Down Plastic and Tape Off
I covered the entire bathroom floor with plastic drop cloths and taped off the nearby walls and fixtures with painter’s tape. Even though I was aiming to be neat, paint splatter still happens. Better safe than sorry here.
Apply Primer Coats
I went with a spray primer to make it easier. I did about three coats, allowing each to dry thoroughly before the next application. The primer leaves a smooth, white undercoat for the paint.
Lightly Sand Again
Even with spray primer, there were a few drips and uneven spots, so I did one final light sanding to smooth everything out.
Paint Time!
And now for the really gratifying part! I used a white tub and tile refinishing enamel. Like with the primer, I applied about three coats, letting each dry completely before moving on. I used a small roller and brush for the hard to reach spots.
Let me tell you, by that last coat of fresh white paint it was looking absolutely pristine! Like a brand-new tub ready to be installed. I was pretty amazed that I was able to renew it myself.
Letting the Paint Cure
As eager as I was to admire my work, I forced myself to be patient and leave the paint alone to fully cure for a couple of days before using the tub. The last thing I wanted was to ding up that fresh finish!
Most enamels need 48-72 hours of drying time to reach full hardness and durability. Though it’s touch dry much quicker, hold off on using the tub until the paint has had time to properly cure.
Putting It Back Together
Once the paint had fully cured, I removed all the plastic and tape and cleaned up the rest of the bathroom.
I re-caulked around the tub with a smooth bead of white caulk. Lastly, I replaced the drain cover and other removable parts I had taken off.
Maintaining That Factory Fresh Look
Now that I had put all that work into refinishing it myself, I wanted to keep my tub looking shiny and new. Here are a few maintenance tips:
- Use gentle cleaners – avoid anything too abrasive that could scratch the finish. Mild dish soap works well for regular cleaning.
- Re-caulk as needed – keep the caulk around the rim fresh and mildew free. This prevents moisture from getting underneath.
- Avoid harsh chemicals – don’t dump straight bleach or other harsh chemicals directly in the tub. Rinse thoroughly after stronger cleaners.
- Touch up scratches – if you do get any light surface scratches over time, you can sand them gently and re-enamel over the spot.
Overall it’s held up great with just simple care and cleaning. No major restoration is needed yet!
The Satisfaction of DIY
Part of the reason I wanted to tackle refinishing my old tub myself was just the satisfaction of completing a home improvement project on my own. And I’m so glad I went the DIY route because:
- It saved me a ton of money – hiring out a refinishing would have easily been in the $300-$500 range, versus the $100 or so I spent on supplies.
- No scheduling hassles – no trying to coordinate a refinishing company’s schedule with my own. I worked on it over a weekend at my own pace.
- Everything got done how I wanted – I was able to take my time prepping and coating it just right.
- I learned a new skill – now I know I can refinish other fixtures and surfaces around the house in the future if needed.
- It looks PERFECT – I was able to get it looking brand new with that glossy porcelain finish, better than some pro jobs I’ve seen.
- The major sense of accomplishment! – When I see my shiny white bathtub now I think “Hey, I did that myself!” Which feels pretty darn good.
So if you have an old tub you’ve been thinking of replacing, I definitely recommend considering a DIY refinish first! With the right approach and materials, it can turn out just as great as a pro job.
If you do decide to tackle it yourself and have any questions on the process, feel free to reach out in the comments below! I’m happy to offer any tips I can. And let me know how your project goes! I hope you and your tub will be as pleased with the results as I was. That feeling of breathing new life into a fixture and saving a chunk of change is the best.
Alright, that wraps up this homemade tub refinishing tutorial. I know it was super detailed but I wanted to fully walk through every step I took. Let me know if you have any other questions! I’m rooting for your success in reviving your own cast iron tub. You’ve got this!
Frequently Asked Questions
What types of cast iron tubs can be refinished?
The refinishing process works on most standard cast iron tubs, whether freestanding or built-in. Porcelain-coated and enamel-coated cast iron tubs can generally be refinished multiple times.
How long does a DIY refinishing job last?
With proper surface prep and applying the right tub refinishing products, a DIY refinished tub can last upwards of 5-10 years before needing to be redone. Proper maintenance helps extend the refreshed finish.
Can I change the tub color when I refinish it?
Yes, you can refinish a cast iron tub in any color enamel paint you choose. White is the most common, but almond, biscuit, or gray enamels are popular options too.
What’s the benefit of refinishing vs. replacing a tub?
Refinishing is far less expensive than full tub replacement. It also saves time and avoids renovation hassles. And it gives an old tub a fresh new look that can last many years with proper care.
Is it safe to refinish a tub myself?
With proper use of protective gear like masks and gloves, tub refinishing products can be safely used by DIYers. Work in a well-ventilated area and follow all product safety precautions.

William J. Bullock is a licensed plumber with over 15 years of experience installing and repairing bathtubs. He runs his own plumbing company in Greenville and serves residential and commercial clients. William is dedicated to providing honest, transparent advice to help homeowners make informed decisions about their bathroom renovations.
He has established expertise in selecting bathtubs, planning custom installations, diagnosing issues, and completing repairs. William aims to share practical tips and reliable recommendations based on extensive hands-on work. When he isn’t on a job site, William enjoys spending time with his family and volunteering at local community events. He takes pride in delivering quality service and enjoys helping people upgrade their homes.

