Can You Change the Drain on a Bathtub?
If your bathtub drain is clogged beyond repair or you want to update the look with a new drain style, you may be wondering:
Can You Change the Drain on a Bathtub?
The good news is that changing a bathtub drain is totally doable as a DIY project for most homeowners. As long as you have the right materials and follow the proper steps, you can save yourself some money and learn how to change the drain on a bathtub.
Why Would You Need a New Bathtub Drain Anyway?
There are a few reasons why you might want to change out an old tub drain for a new one. Here are some of the most common scenarios:
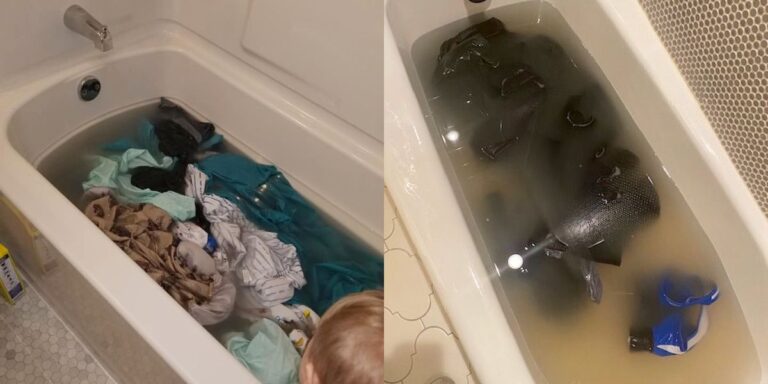
- Your current drain is clogged and you can’t clear it. If you’ve tried everything to unclog a stubborn drain to no avail, the drain assembly itself might be busted. Replacing it is often easier than continually fighting a clogged drain.
- The bathtub drain is cracked. Cracks around the drain can lead to leaks and water damage under the tub. A new drain will solve the problem.
- You want to upgrade to a different style. Maybe you want to change from a basic pop-up drain to a new toe-tap, basket strainer, or decorative drain cover. Changing the drain allows you to easily update the look.
- Doing a bathroom remodel. When remodeling a bathroom, you’ll probably want new drains and fixtures to match the updated style.
So if you’re facing any of those scenarios, read on to learn how to tackle a DIY bathtub drain replacement.
Related guide: Can I Replace My Own Bathtub? The Ultimate DIY Guide
Choosing the Right New Drain
Before you start this project, you need to purchase a new drain that fits your tub. Here are some of the most common types of drains to consider:
- Pop-up drain: The basic pop-up drain has a stopper that seals the drain when lifted up and down. Simple and inexpensive.
- Toe-tap drain: Instead of a pop-up stopper, the toe-tap drain has a lever you push with your toe to open and close the drain.
- Basket strainer drain: This type has a strainer basket to catch hair and debris.
- Vessel drain: For a unique look, vessel drains sit on top of the tub surface.
- Overflow drain: Used on tubs with an overflow outlet; has an overflow plate.
Make sure to check the dimensions of your existing drain and buy a new one made for your tub’s drain hole size. Measure carefully, as you want a snug fit.
Gather the Right Tools and Materials
Changing out a bathtub drain requires very few supplies. Here’s what you need:
- Adjustable wrench and/or drain wrench
- Screwdriver
- Putty knife
- Plumber’s putty
- Teflon tape
- Rag and cleaning solvents like mineral spirits
- New drain
You don’t need any power tools or fancy equipment. Just some basic hand tools and supplies from the hardware store. Having the right gear makes this a much smoother DIY job.
Turn Off the Water Supply Lines
Before you remove the old drain, you need to shut off the water supply lines. There are a couple of ways to do this:
- Turn off the home’s main water supply. This will shut the water off to the entire house. Locate the main shut off valve (usually near the water meter) and turn it off.
- Turn off the water supply valves. Find the individual hot and cold shut off valves under the sink or tub and turn them clockwise to shut off the water.
Once the water is off, turn on the tub faucet to drain out any standing water in the pipes. Now you can remove the old drain without any water gushing out.
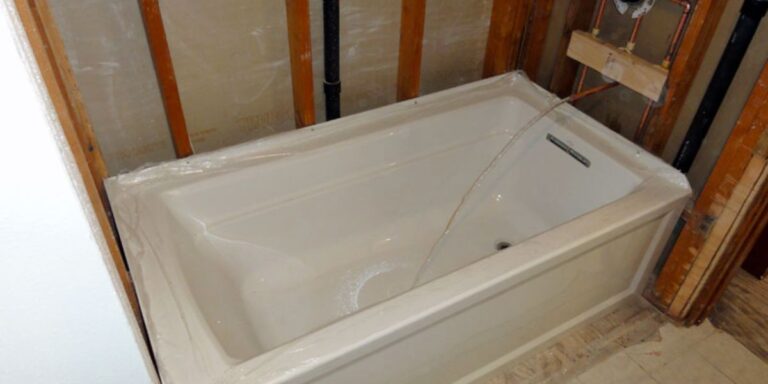
Safely Remove the Old Drain
With the water off, you can get rid of that old, clogged drain. Here are the basic steps for removal:
- Pry off the drain’s decorative cover with a screwdriver.
- Remove the screw holding the stopper mechanism (if applicable).
- Unscrew the drain tailpiece from the shoe assembly underneath the tub with your wrench or drain tool. Use penetrating oil if it’s stuck.
- Detach the waste tee or drain elbow from the drain pipe. You may need to cut the pipe with a hacksaw.
- Clean off any old plumber’s putty from the area around the drain hole. Use a putty knife and mineral spirits.
Be sure to place a small bucket or pan under the tub drain to catch any drips of water during this process. Take your time removing the old drain pieces – having patience here prevents damage to the tub.
I am often asked by many citizens Can Mice Come Up The Bathtub Drain? And that’s interesting questions.
Prepare and Install the New Drain Assembly
Once the old drain is fully removed, you can put in the new one. Here’s how to do it:
- Apply plumber’s putty around the drain hole so the new drain will have a watertight seal. Roll out the putty like a rope and press it in around the opening.
- Insert the upper drain body (the strainer or stopper section) into the drain hole from above. Press down firmly to seal it into the putty.
- From below, attach the drain shoe and tailpiece to the upper body, hand tightening the coupling nut.
- Tighten with a wrench. Don’t over-tighten.
- Connect the P-trap by sliding on a slip nut to attach the tailpiece to the trap. Tighten the slip nut.
- Attach the other end of the P-trap back to the drain elbow or waste tee in the wall.
- Make sure the new drain is aligned properly and all slip nuts, washers, and connections are snug.
- Remove any excess putty on the tub surface around the drain.
See this article; Do Bathtub Drains Have Traps?
Run some water into the tub and check for leaks. You want your work to be water-tight before finishing up. If there are any leaks, tighten connections or apply more plumber’s putty as needed.
Make It Look Nice Again
Once you’re confident the new drain is sealed and working properly, you just need to make the tub look nice again:
- Re-install any decorative cover and stopper mechanism (if applicable). Make sure they are aligned correctly and fully seat into the drain.
- Replace any surrounding tub tiles or the tub surround that you needed to remove during the process.
- Apply a bead of mildew-resistant silicone caulk around the new drain where it meets the tub surface. Smooth the caulk with your finger. This gives it a finished look.
- Turn the water supply back on and test the drain.
- Run the hot and cold water for a few minutes to flush out any putty, metal shavings, or other debris.
And that’s it – you’ve successfully learned how to replace a bathtub drain! One question is very common; Do You Need a Permit to Replace a Bathtub?
FAQs About DIY Bathtub Drain Replacement
If you’re thinking about taking on this project yourself, you probably have some questions. Here are answers to some frequently asked DIY tub drain questions:
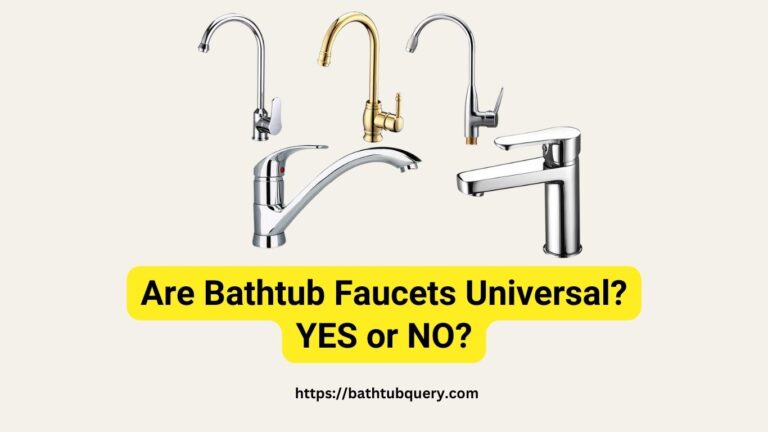
How do I know what drain will fit my bathtub?
- Look for a universal retrofit drain made to fit most standard tubs. These have adjustable parts to adapt to different sizes.
- Alternatively, measure the diameter of your drain hole accurately, then order a new drain made specifically for that size.
See this guide on What Size P-Trap For Bathtub?
What type of new drain should I use?
- For a basic tub, a pop-up or toe-tap drain will do the job.
- For a freestanding tub, you may want a decorative or vessel style drain.
- If you have kids or deal with lots of hair, try a basket strainer drain to catch debris.
What should I do if the new drain won’t seal properly?
- Make sure you are using plumber’s putty and not caulk around the drain. The putty remains pliable to allow for slight adjustments if needed.
- Try applying a bit more putty around the drain. Really press the drain body into the putty to get a tight seal.
- Loosen the drain, reposition it, tighten again. Repeat as needed until aligned properly.
How can I make this easier on myself?
- Use a helper if possible. Having an extra set of hands makes aligning the drain pieces much less frustrating.
- Having the right tools (drain wrench, basin wrench, etc.) prevents stripped fasteners.
- Getting the putty just right takes some finesse – be patient and take your time.
Is this a DIY job or do I need a plumber?
- If your tub drain is just clogged, try plunging, baking soda/vinegar, or a Zip-It tool first.
- Replacing a pop-up or basic tub drain is very doable for a knowledgeable DIYer.
- If you have a vintage clawfoot tub or complex connections, it’s best to hire a pro.
- If the job involves drywall work, tile, or you lack the skills, call a plumber to get it right.
In Conclusion
While it may sound complex, changing a bathtub drain truly is an achievable DIY project for most homeowners. As long as you carefully follow the steps, you can save the cost of a plumbing service call. Pay close attention when removing the old drain and installing the new one. Be sure the drain body seals tightly with plumber’s putty. If leaks persist, don’t hesitate to tighten joints or apply more putty until water-tight.
The key things to remember are turning off the water lines, taking your time removing the old drain to avoid damage, prepping and aligning the new drain properly, and sealing it well. These steps are crucial. If at any point the project seems too advanced, calling a professional plumber is a wise choice. But in most cases, with a little patience and some basic skills, you can handle swapping out a bathtub drain on your own.

William J. Bullock is a licensed plumber with over 15 years of experience installing and repairing bathtubs. He runs his own plumbing company in Greenville and serves residential and commercial clients. William is dedicated to providing honest, transparent advice to help homeowners make informed decisions about their bathroom renovations.
He has established expertise in selecting bathtubs, planning custom installations, diagnosing issues, and completing repairs. William aims to share practical tips and reliable recommendations based on extensive hands-on work. When he isn’t on a job site, William enjoys spending time with his family and volunteering at local community events. He takes pride in delivering quality service and enjoys helping people upgrade their homes.