How To Stop Bathtub Faucet From Dripping? Quick Guide
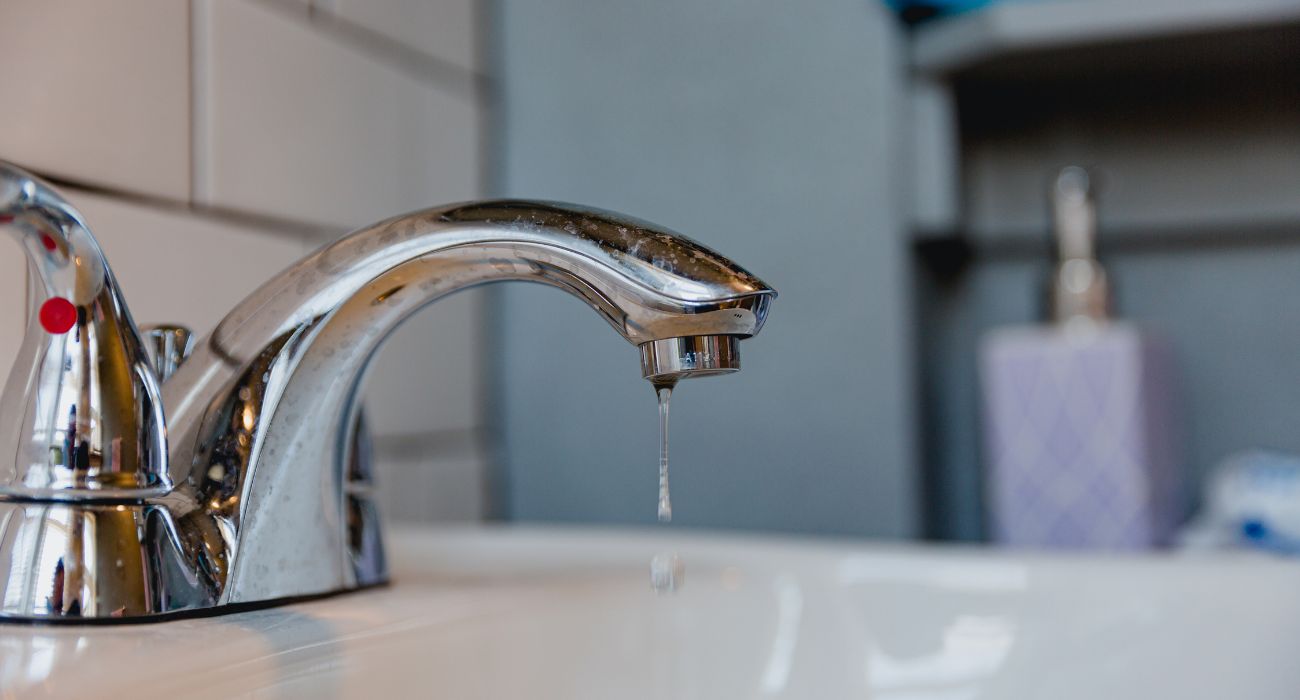
Is your bathtub faucet leaking or dripping constantly? That sporadic plop, plop, plop of water droplets can drive you batty, plus it’s wasting water and money down the drain. Don’t despair – with a few tools and simple plumbing skills, you can troubleshoot and fix a dripping tub faucet yourself.
I know first-hand how irritating a leaky faucet can be. About a year ago, the tub faucet in our master bathroom started dripping intermittently. At first, it was just a occasional drip, so I didn’t think much of it. But over a few weeks, it progressed to a constant, rapid drip that was keeping me up at night. Not to mention our water bill had shot up from all that wasted water!
I decided enough was enough; it was time to roll up my sleeves and fix that leaky faucet myself. After some online research and a hardware store trip, I was able to diagnose and repair the problem in just a couple hours. No more maddening drips keeping me awake!
In this article, I’ll walk you through the steps I followed to troubleshoot and fix a dripping tub faucet. With the right tools and a little DIY plumbing knowledge, you can tackle this repair yourself and save on the cost of a plumber. Let’s get started!
Key Takeaway
- Turn off water supply – Locate shut-off valves under the sink and turn them clockwise to the off position. This prevents leaks while working.
- Remove faucet handle – Use screwdriver to remove the handle and gain access to interior parts.
- Check washers and O-rings – Examine and replace if cracked, worn, or compressed. Most common cause of drips.
- Clean away mineral deposits – Use vinegar and water to dissolve lime, calcium, and rust buildup.
- Replace damaged parts – Check springs, stems, and cartridges for cracks and corrosion. Replace damaged components.
- Reassemble faucet – Put back together with new seals. Ensure that parts are aligned and threaded correctly.
- Turn water supply back on – Slowly turn the shut-off valves counter-clockwise to turn the water back on.
- Test for leaks – Turn on the faucet and check under the sink for drips. Tighten connections if needed.
What Causes a Bathtub Faucet to Leak?
Before you can fix a leaky tub faucet, it helps to understand what caused the dripping in the first place. Here are some of the most common culprits of a dripping faucet:
- Worn washers or O-rings – The washers and O-rings inside the faucet handle and spout seal the water flow. After years of turning the faucet on and off, these rubber parts eventually wear out or get compressed, allowing water to seep through.
- Mineral buildup – Hard water containing calcium, lime, and rust deposits can prevent faucet parts from sealing properly, leading to drips. The mineral deposits grind away at washers and valves.
- Old/damaged internal parts – Inside the faucet are small plastic or brass parts like the cartridge, ball, or valve stems. Corrosion, wear, or cracks in these parts can cause leaks.
- Loose connections – If the supply lines, hoses, nuts, or bolts under the tub are loose, water can drip out of the connections.
Knowing the source of the leak is key to fixing it. Next, I’ll go through some troubleshooting tips to diagnose the drip.
Troubleshooting a Dripping Tub Faucet
Before diving into repairs, it helps to do some preliminary troubleshooting to pinpoint the cause of the leak. Here are some steps to diagnose a dripping tub faucet:
Check for visible leaks or moisture – Turn the faucet handles to the on position and look under the sink. Check around supply lines and connections for visible water droplets or moisture. Leaks here indicate a loose connection.
Remove the faucet handle – Use a screwdriver to take the handle off and inspect the inner components. Look for corrosion, hard water buildup, and damaged O-rings or washers.
Assess drip type – Note if the drip happens intermittently or constantly. Constant drips signal an issue with worn washers or mineral deposits inside the faucet body. Intermittent drips can mean problem with water pressure or supply lines.
Test water pressure – Low water flow or pressure may prevent the faucet valve from fully closing. Attach a pressure gauge to the supply lines to verify house water pressure.
Inspect supply hoses – Flexible supply lines have plastic or rubber washers inside that can wear out over time. Check for cracks or leaks.
Related articles; Can You Drink Water Out of the Bathtub Faucet?
These troubleshooting tips should help you isolate whether the leak is coming from the faucet itself vs. the water supply lines. Once you’ve identified the problem area, it’s time to fix it!
Step-by-Step Guide to Repairing a Dripping Faucet
Once you’ve pinpointed the leaky component, follow these steps to complete the repair:
Shut Off Water Supply
The first step is to turn off the water supply lines feeding the tub faucet. There should be shut-off valves for both hot and cold water. Turn them clockwise to the off position. This prevents leaks while you work.
Disassemble the Faucet
Use a basin wrench to loosen the nuts and bolts holding faucet components together. Carefully disassemble the handle, dome cap, spout, collar, cartridge, etc. Lay out the parts in order.
Check and Replace Internal Seals
Examine rubber washers, O-rings, and seats. Look for cracks, tears, breakdowns, and hard water deposits. A leak usually means it’s time to replace these seals. Purchase a faucet repair kit with replacement parts.
Clean Away Mineral Buildup
Use white vinegar or a tub cleanser to scrub away any calcium, lime, or rust around faucet parts. Remove all debris so parts can seal properly.
Replace Any Damaged Components
While the faucet is disassembled, inspect all internal pieces for damage. Replace any components that are cracked, corroded, or excessively worn. This prevents future drips.
Reassemble the Faucet
Once all repairs are made, put the faucet back together by reversing the disassembly steps. Make sure all parts are aligned correctly and sealed properly.
Turn Water Back On
Turn the hot and cold shut-off valves counterclockwise to slowly turn the water supply back on. Let the tub faucet run a few minutes to flush any debris.
Test for Leaks
Check for any drips or leaks once you reinstall the faucet handle. Tighten any connections as needed to ensure a drip-free seal. Add plumber’s tape to the stubborn threads.
And voila – your tub faucet dripping should be fixed! I always keep spare washers, O-rings, and a basin wrench under my bathroom sink so I can tackle leaks right away. Replacing these small plastic and rubber seals before they are totally worn prevents more extensive faucet repairs down the road.
Related articles; Can I Use a Kitchen Faucet for Bathtub? A Practical Guide
Fixing Specific Bathtub Faucet Leak Problems
Depending on the tub faucet style and where the leak occurs, you may need to use slightly different repair steps. Let’s look at how to fix some common tub faucet drip issues:
Dripping Bathtub Faucet When Off
A faucet that drips constantly even when turned off typically means worn-out internal seals. Follow these steps to replace the seals and stop the drip:
- Shut off hot and cold water valves
- Use a basin wrench to remove the faucet stem.
- Pull out the cam washer and rubber seat. Replace if worn.
- Use a gritty cleanser to scrub away any mineral deposits.
- Put the washed components back together with new seals.
- Reinstall the faucet stem and handles.
- Turn the water back on and test for drips.
Replacing the internal seals restores a watertight seal to stop drips when the faucet is off.
Related articles; Can You Change the Drain on a Bathtub?
Leaky Two Handle Bathtub Faucet
Two-handle faucets have rubber seat washers at the base of each separate hot and cold handle. Follow these steps to fix leaks:
- Remove the handles and unscrew the retaining nuts holding each faucet stem.
- Pull out the stems and replace the rubber seat washers if worn.
- Clean the interior of the faucet body and stems to remove mineral deposits.
- Put the stems back on and screw the retaining nuts back on.
- Reinstall handles. Turn the water on to check for leaks.
With this style of faucet, focus on the individual washers inside each handle stem.
Dripping Single Handle Tub Faucet
Single-handle faucets use cartridges with internal seals and springs. To fix drips:
- Pry off the handle and unscrew the cartridge retaining nut.
- Pull the cartridge out and replace any worn seals and springs.
- Remove any debris and lime buildup from the faucet body.
- Reinstall the cartridge and retaining nut.
- Replace the faucet handle and test for leaks.
Replace the entire cartridge or its seals to stop drips from a single-handle tub faucet.
Related articles; Do You Need a Permit to Replace a Bathtub?
Leaking from the Faucet Base or Spout
If the leak occurs at the base near supply line connections, tighten nuts and fittings with an adjustable wrench. For spout leaks:
- Unscrew the spout collar nut and pull off the spout.
- Replace worn O-rings around the base of the spout.
- Clean mineral deposits around faucet body openings.
- Reinstall the spout and tighten the collar nut.
Tightening fittings or replacing O-rings around the spout will fix drips coming from those areas.
Preventing Future Bathtub Faucet Leaks
A little preventive maintenance goes a long way toward keeping your tub faucet drip-free in the future:
- Wipe down the tub faucet after each use to prevent mineral deposits from building up in the first place.
- Replace the faucet washers and O-rings every few years. Don’t wait for them to wear out completely.
- Consider installing low-flow aerators on the tub spout. This restricts water flow, which causes less wear.
- Use a water softener if you have hard water. This reduces lime and calcium, which erode faucet components.
- Shut off the tub’s water supply before extended absences to prevent leaks while you’re away.
- Tighten the mounting nuts under the tub annually to prevent them from loosening over time.
By servicing the tub faucet regularly, you can avoid a dripping situation. But when those persistent drips inevitably start, use the troubleshooting and repair steps outlined here to stop them for good. Just a few basic plumbing tools and DIY skills can resolve that irksome drip coming from your tub faucet. No more losing sleep over the plop…plop…plop!
Related articles:

William J. Bullock is a licensed plumber with over 15 years of experience installing and repairing bathtubs. He runs his own plumbing company in Greenville and serves residential and commercial clients. William is dedicated to providing honest, transparent advice to help homeowners make informed decisions about their bathroom renovations.
He has established expertise in selecting bathtubs, planning custom installations, diagnosing issues, and completing repairs. William aims to share practical tips and reliable recommendations based on extensive hands-on work. When he isn’t on a job site, William enjoys spending time with his family and volunteering at local community events. He takes pride in delivering quality service and enjoys helping people upgrade their homes.